Sashing 101
HoopSisters on 13th Nov 2024
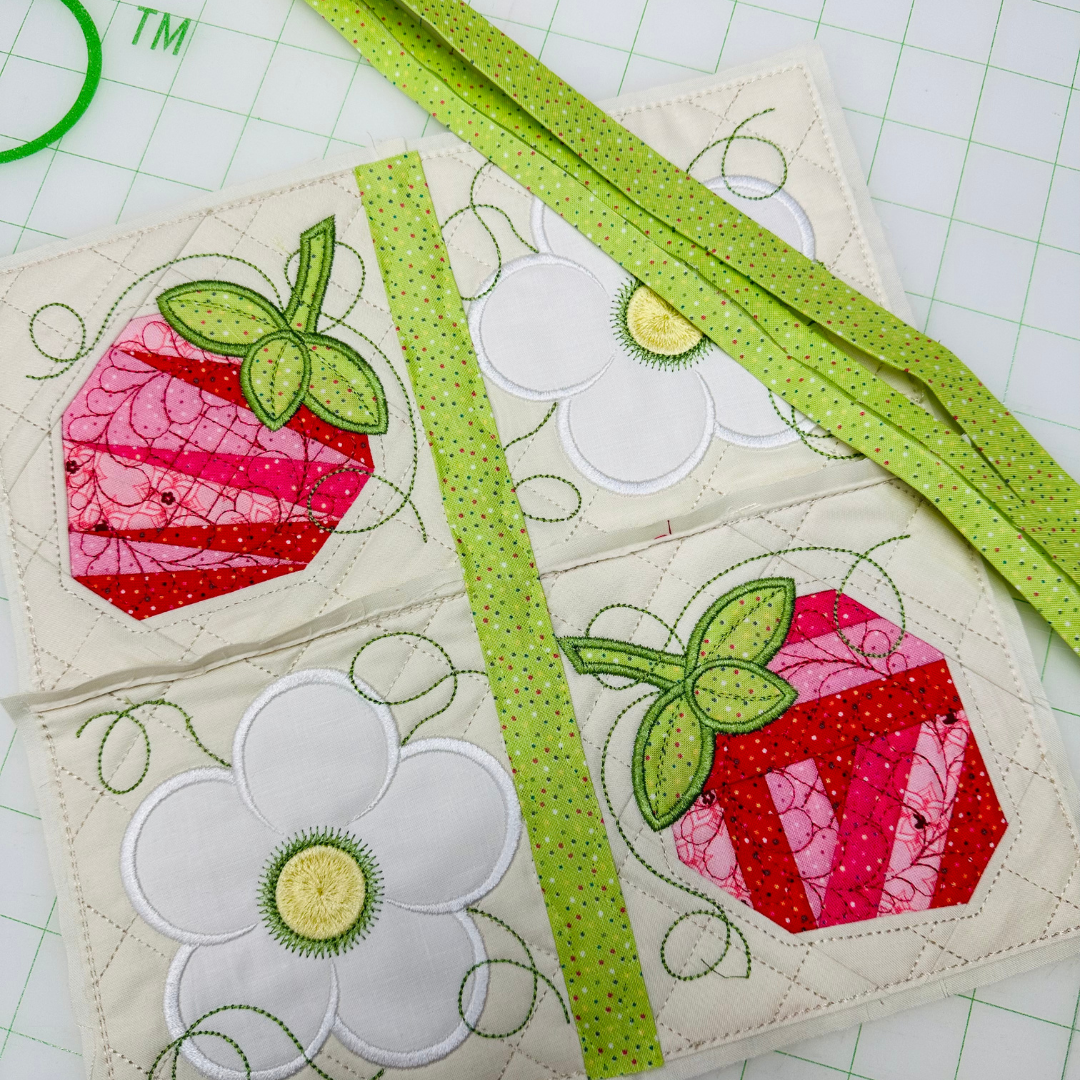
Sashing can be both functional AND beautiful on quilts and wall hangings. These thin strips of fabric are used to cover the seams on blocks made in the hoop of your embroidery machine and then joined. Using a fabric that matches your Backing Fabric results in a sashing that blends in and is not easily noticeable. Going bold with a fabric that contrasts your Backing Fabric creates a beautifully, artistic statement. Adding sashing is an easy skill to learn with a few simple steps.
First, you'll need to prepare your sashing strips. Simply, cut 1.5" sashing strips until you have the required length. Then join sashing strips end-to-end. Press wrong sides together, raw edges meeting in the middle. Now, let's get your machine ready - Place a thread in the needle that matches the sashing fabric, or use a clear monofilament thread. You'll use a clear monofilament thread in the bobbin as well. Choose an elongated serpentine stitch and put the walking foot on your machine.
You are ready to add sashing to your quilt following these steps...
- Sew with the back side of the quilt facing up.
- Raw edges on the back of sashing strip should be centered directly over the seam.
- Sew serpentine stitch on both sides of sashing strip, working in one direction.
There are two different ways to trim sashing, depending on the location within the quilt. Trim sashing even with basting stitch on sides of blocks that will be joined to other blocks. On sides of blocks that will have binding sewn to it, trim even with raw edges of the block. Give it a try for your next project!


